Introduction
Every homeowner in Paso Robles has a story about their home’s battle against the elements including spores. For some, it’s the searing sun; for others, it’s the damp mornings that creep into wood and siding. T1-11 siding is a favorite here—it’s durable, rustic, and feels right at home in the Paso Robles landscape. But even the toughest materials can fall victim to nature’s relentless grasp, particularly when mold and mildew decide to move in.
Let me take you on a journey through the process of caring for T1-11 siding. It’s not just about cleaning; it’s about preserving the character of your home and ensuring it stands strong for years to come.
Table of Contents
- Introduction
- Understanding Spores on T1-11 Siding
- Why Cleaning T1-11 Siding Matters
- Step 1: Inspecting Your Siding
- Step 2: Tools for Effective Cleaning
- Step 3: Preparing the Cleaning Solution
- Step 4: Applying Cleaning Solution Properly
- Step 5: Scrubbing Away Stubborn Stains
- Step 6: Rinsing for a Spotless Finish
- Step 7: Drying and Post-Cleaning Inspection
- Conclusion
Understanding Spores on T1-11 Siding
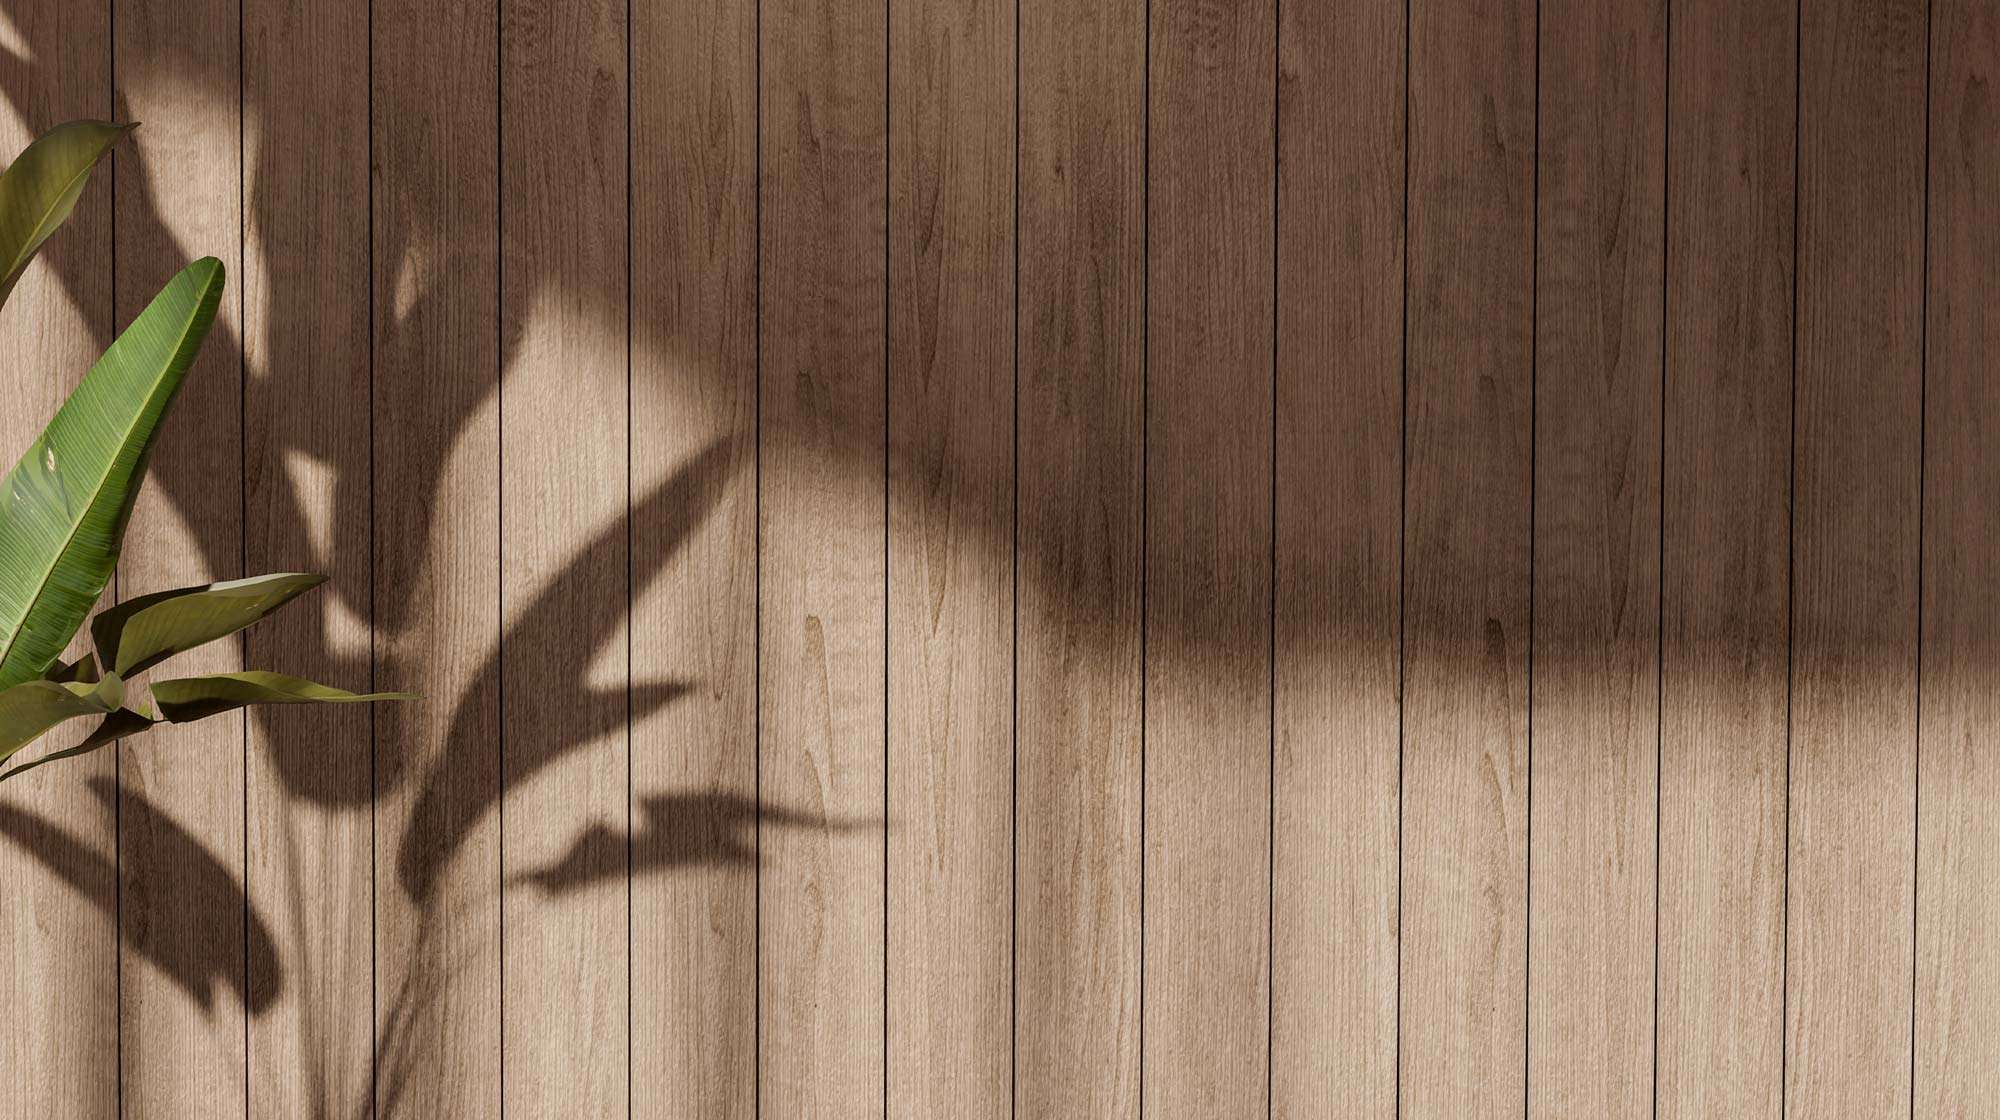
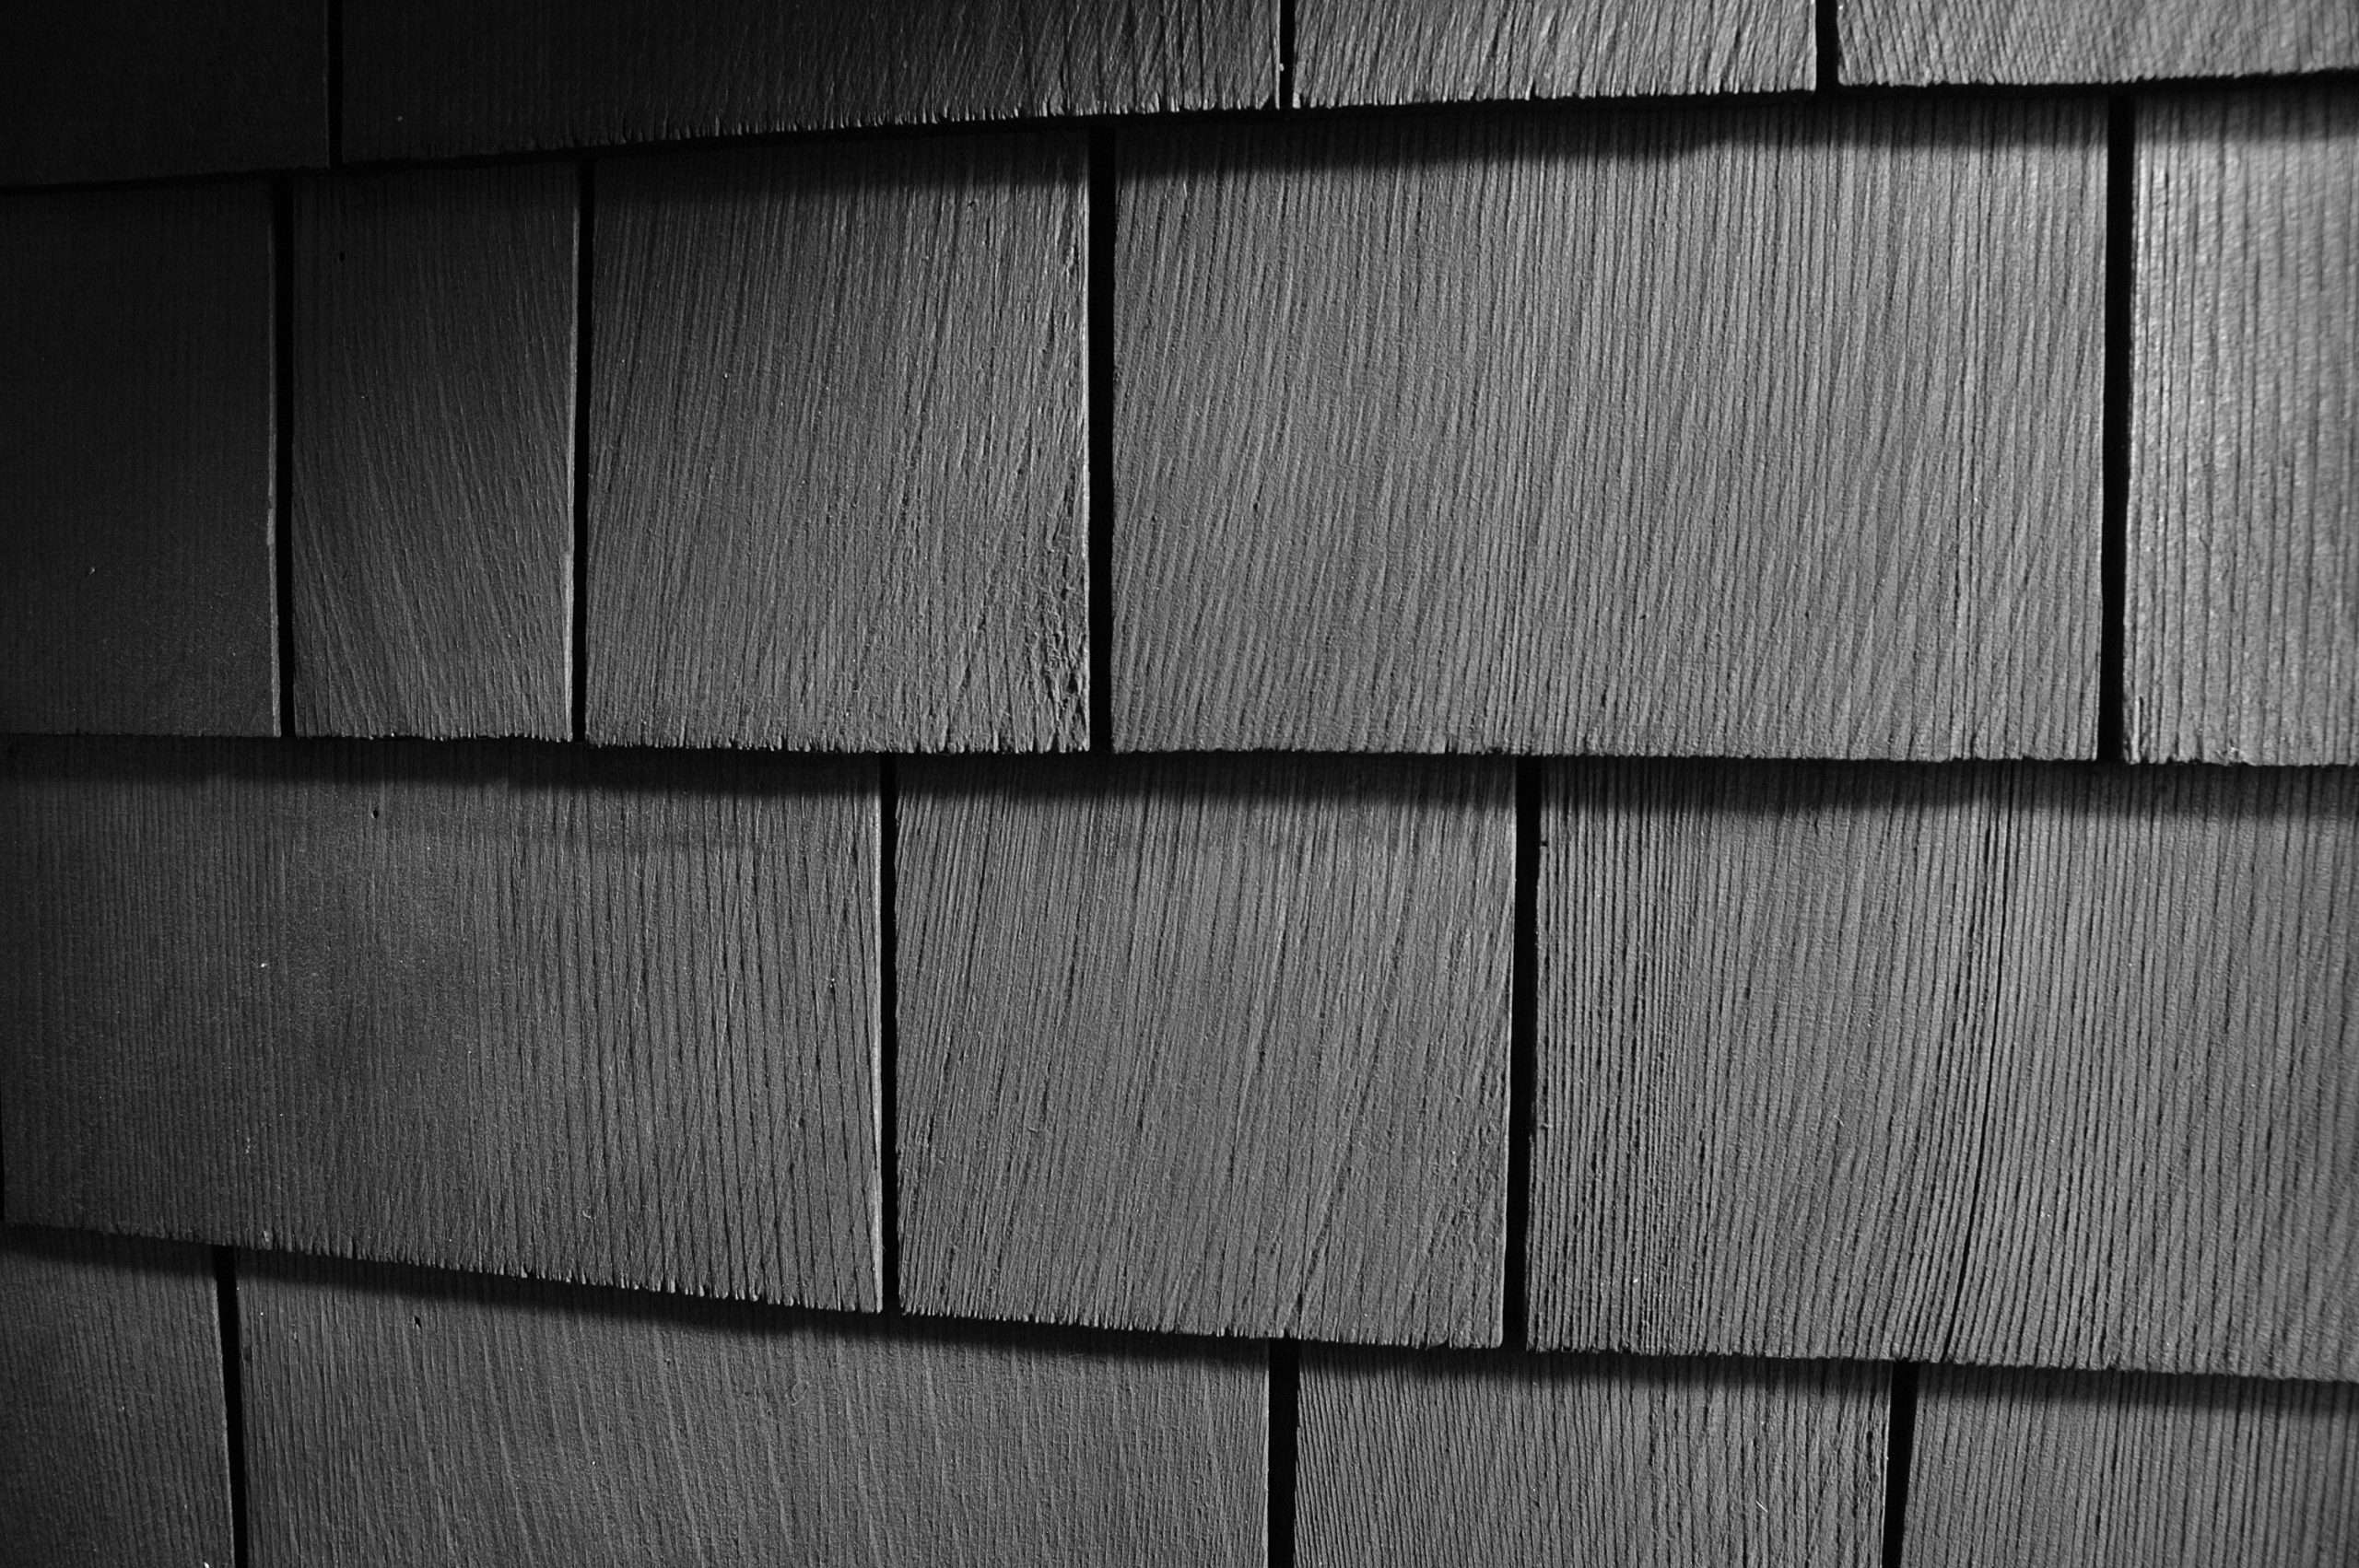
T1-11 siding is like the dependable friend who’s always there—sturdy and reliable. Its vertical grooves give it a distinctive look that complements Paso Robles’ rustic charm. Yet, it has a vulnerable side. Spores, tiny as they are, can find a home in its grooves, clinging to the wood and multiplying when moisture is present.
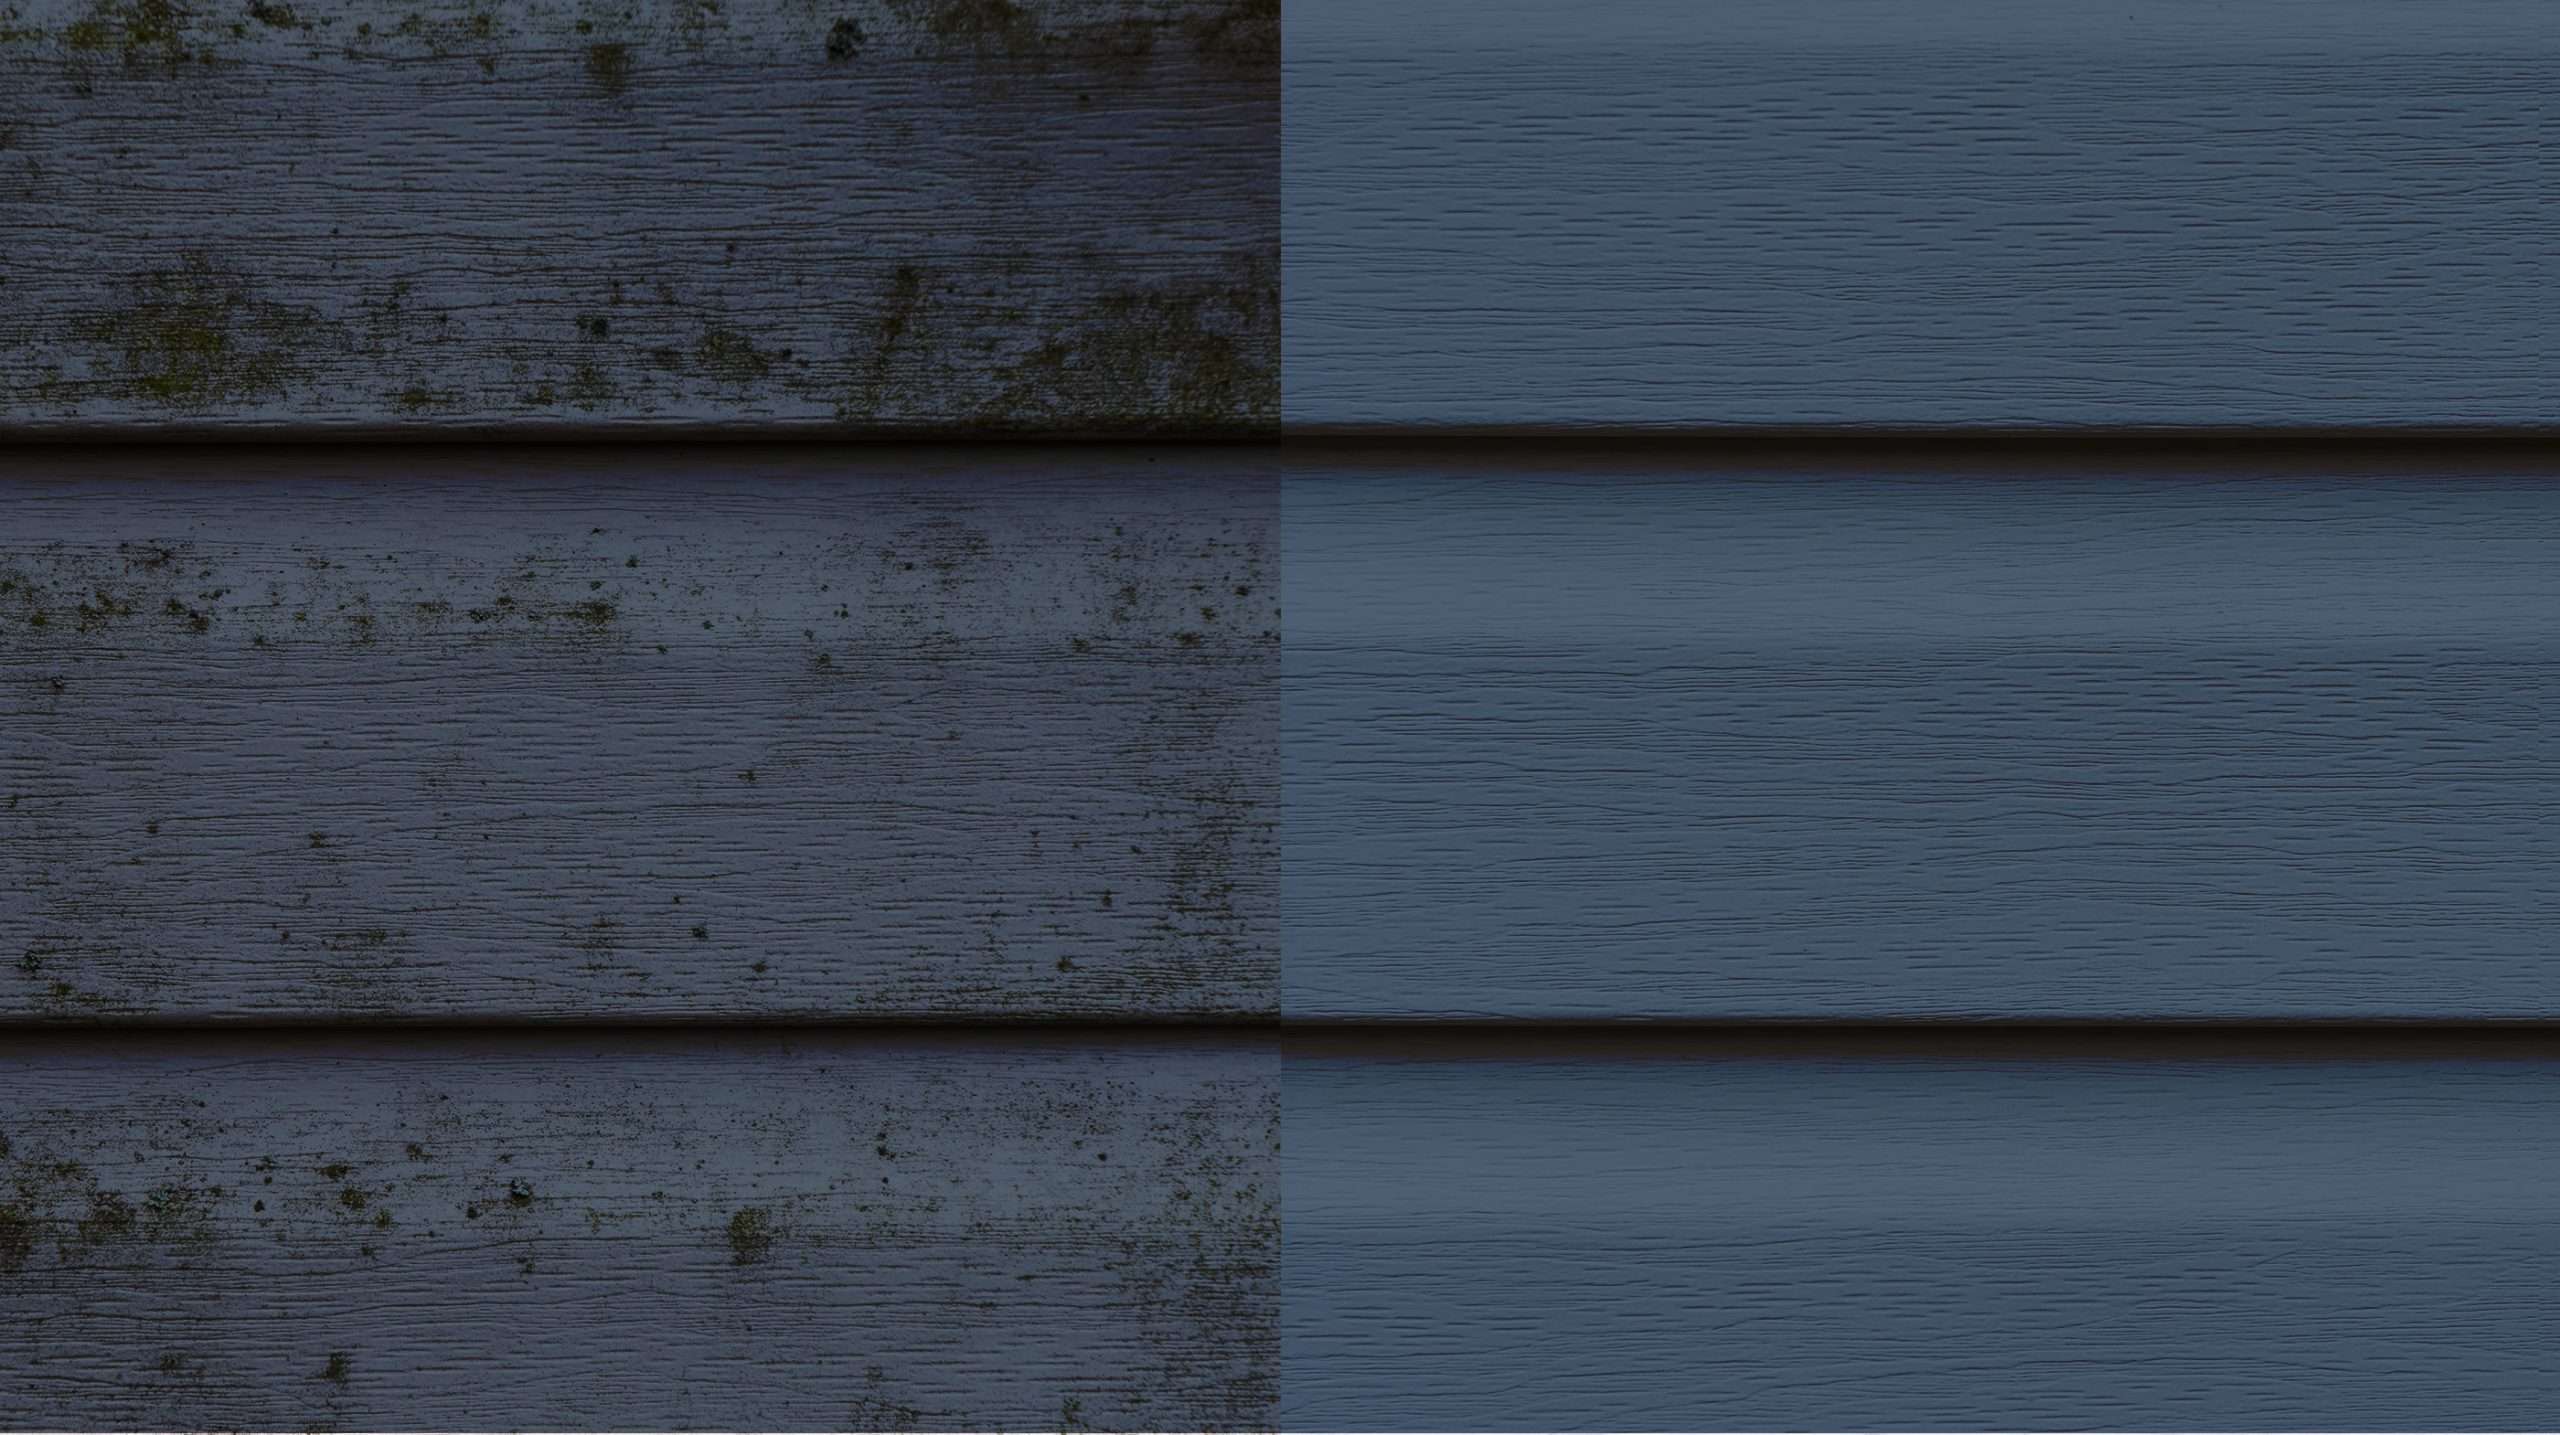
These spores don’t just sit quietly. They bring visible stains, from black blotches to greenish smears, that mar the siding’s appearance. Left unchecked, they burrow deeper, weakening the siding and threatening its longevity. Addressing this issue isn’t just about aesthetics—it’s about protecting your home’s story.
Why Cleaning T1-11 Siding Matters
Paso Robles’ unique climate is a double-edged sword. The dry heat helps keep things crisp, but the occasional moisture—whether from rain or morning fog—creates a breeding ground for spores. Regularly washing T1-11 siding is like giving your home a fresh start. It removes dirt and spores that would otherwise build up, ensuring your siding remains both beautiful and strong.
Washing also acts as a preventive measure. By removing mold and mildew early, you’re cutting off their chance to cause deeper damage. Think of it as an act of care for your home—a small effort that pays off in the long run.
Step 1: Inspecting Your Siding
Before you dive in, take a moment to really look at your siding. This is your chance to spot cracks, loose panels, or areas with heavy staining. Identifying these problem spots allows you to focus your efforts where they’re needed most.
Imagine it like preparing for a journey: you wouldn’t set off without checking the map, and you shouldn’t clean without knowing what you’re up against.
Step 2: Tools for Effective Cleaning
Cleaning T1-11 siding is a straightforward process, but having the right tools makes all the difference. You’ll need a ladder, a soft-bristled brush, a bucket, and a mild detergent. For tougher jobs, a bit of bleach can help, though it requires careful handling.
Think of these tools as your allies in the fight against grime. Each has a role to play, and together, they’ll help you restore your siding’s charm.
Step 3: Preparing the Cleaning Solution
Creating the right cleaning solution is part science, part art. For most cases, a mixture of detergent and water will do the trick. But for siding that’s seen tougher times, a touch of bleach can break down stubborn mold and mildew.
It’s a simple process, but it’s also a reminder that care and attention are at the heart of good home maintenance.
Step 4: Applying Cleaning Solution Properly
When it’s time to apply the cleaning solution, start at the top and work your way down. This ensures you’re not rinsing dirt back onto areas you’ve already cleaned. Use a pump sprayer or brush to evenly coat the siding, paying extra attention to heavily stained areas.
Let the solution sit for a while, giving it time to break down the dirt and spores. Patience here makes the rest of the process smoother.
Step 5: Scrubbing Away Stubborn Stains
This is where the real transformation begins. With a soft-bristled brush, gently scrub the siding, working in small sections. You’ll see the dirt and stains lift away, revealing the natural charm of the T1-11 beneath.
Think of it as uncovering a treasure. Beneath the grime lies the story of your home, waiting to be brought back to life.
Step 6: Rinsing for a Spotless Finish
Rinsing is the satisfying final act of the cleaning process. Using a garden hose with a spray nozzle, wash away the solution, along with the dirt and spores it loosened. Start at the top and work your way down, ensuring no residue is left behind.
It’s a moment of renewal, as your siding emerges clean and refreshed, ready to face the elements once more.
Step 7: Drying and Post-Cleaning Inspection
After rinsing, let the siding air dry naturally. As it dries, take another look to ensure no stains or spores remain. If you spot areas that need extra attention, don’t hesitate to repeat the process.
This step isn’t just about ensuring thoroughness—it’s about appreciating the effort you’ve put into preserving your home.
Conclusion
Caring for T1-11 siding in Paso Robles is more than a chore; it’s an investment in your home’s story. By washing away the dirt and spores that threaten its beauty and integrity, you’re ensuring it stands strong for years to come.
At Rogall + Co., we understand the importance of protecting your home from the elements. Whether you need guidance or professional assistance, we’re here to help. Together, let’s keep your home’s story alive and well by contacting us today!